符合标准的网页开发,可谓是不作恶的底线了。通过生产具有可读性的高质量代码,促成在不同浏览器中达成一致的显示效果,并且关照不同用户群体的可访问性(accessibility)。
可以使用W3C Markup Validation Service,在线验证网页是否符合标准;也可以使用Html Validator插件,在浏览器中验证网页。而更高效的方式,则是使用Nu Html Checker (v.Nu)开源工具,它可以在命令行中离线批量验证多个文件。

安装运行
可以直接从GitHub下载各平台下的可运行程序。
如果您已经安装了Java运行环境,那么可以下载 vnu.jar文件直接运行。
如果您没有安装过Java运行环境,那么可以下载相应操作系统的预编译包,比如vnu.windows.zip,其中内置了的Java系统。
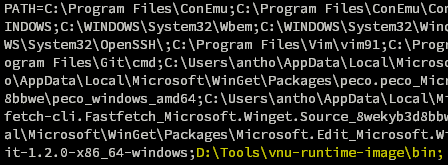
将vnu所在目录,增加到path环境变量中:
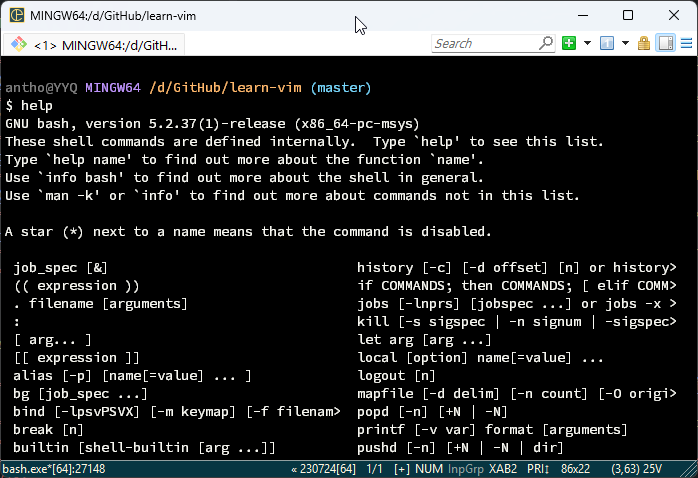
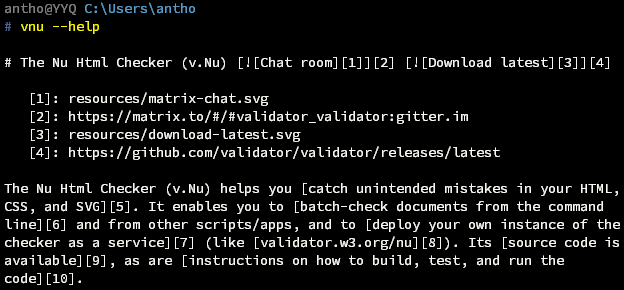
在命令行中,执行以下命令,可以显示帮助信息即说明安装成功。
$ vnu --help
在Mac操作系统下,可以通过Homebrew进行安装:
$ brew install vnu
验证网页
使用以下命令,可以验证在线网页:
$ vnu https://yyq123.github.io/learn-vim/learn-vi-00-00-TOC.html
使用以下命令,可以验证指定文件:
$ vnu filename.html
使用以下命令,可以验证多个文件文件:
$ vnu filename1.html filename2.html
使用以下命令,可以验证当前目录下所有网页文件:
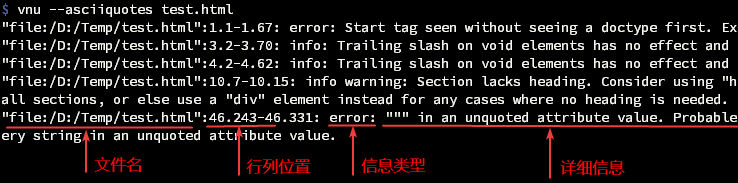
$ vnu --asciiquotes --skip-non-html .
--asciiquotes选项,指定在输出信息中使用ASCII编码的引号(替代默认的Unicode编码的引号);
--skip-non-html选项,仅验证所有扩展名为html、htm、xhtml或xht的网页文件。
默认情况下,命令按照GNU error format格式输出。也可以使用--format选项,指定、xml、json或text格式。
使用--errors-only选项,将仅显示错误信息,而忽略info和warning信息:
$ vnu --errors-only filename.html
在Vim中调用vnu
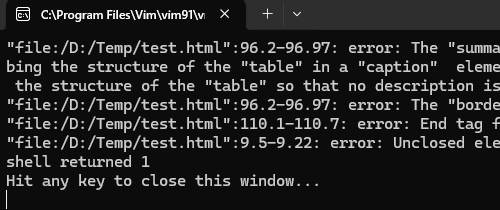
在Vim中,可以直接调用vnu来验证当前文件,将在弹出的操作系统命令行中显示输出信息,需要点击回车键来关闭命令行窗口并返回到Vim:
:!vnu --asciiquotes %
使用vnu进行编译
请将以下代码,保存至~/.vim/after/compiler/w3c-html-validator.vim:
let current_compiler = "w3c-html-validator"
CompilerSet makeprg=vnu\ $*\ --asciiquotes\ '%'
CompilerSet errorformat=\"file:%f\":%[0-9]%#\.%c-%l\.%[0-9]%#:\ %m在vimrc配置文件中,指定新建的编译器:
autocmd FileType html,xhtml compiler w3c-html-validator
再次打开HTML文件,使用以下命令即可使用vnu进行验证,并在QuickFix中显示输出信息:
:make
如果已经打开了多个文件,那么使用以下命令则可以对参数(Arguments)列表中的所有文件中进行验证:
:make ##